On Eventbrite, there are a lot of event pages going up (millions), and even more people looking for events (millions upon millions) — but not every event page gets the same amount of love. Some get tons of pageviews and sell tickets fast while others, well, not so much. So what makes certain pages more successful than others? Here are 8 ways to create a great event listing.
1. What’s in a name? Short, catchy, and easy to remember
The most successful events have short, catchy titles that describe the events and why they’re unique. The best names make an impression, are easy for attendees to remember, and look good on promotional materials. You don’t need to explain everything in the title, just enough to grab someone’s attention so they’ll come to your event page to learn more.
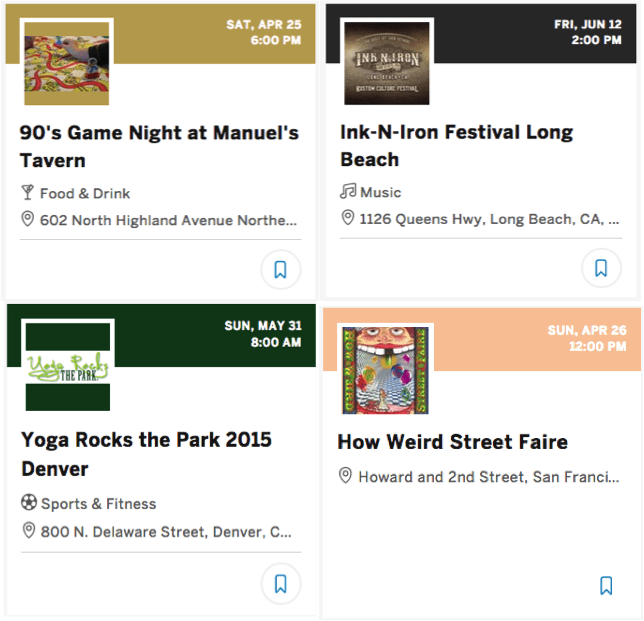
Figure 1. Examples of event titles that help drive clicks
2. Put your event on the map. Literally.
People tend to search for events by location—whether they’re looking for something close to home or far away for a trip they’re planning. Be sure to provide the exact location of your event, and your short ‘n sweet event title will appear where people are searching. It’s also more likely that they’ll share your event with people near the same area to help spread the word.
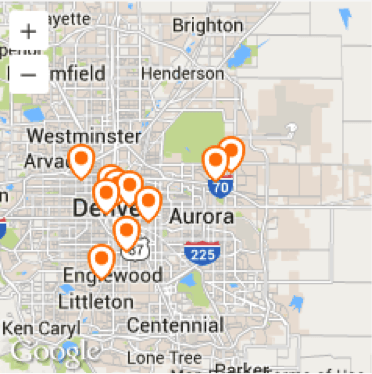
Figure 2. How Eventbrite lets people search by location.
3. SEO is your BFF
Let us break that down. Make your event page SEO-friendly, or optimized for search engines, and when people search on Google for something related to your event, your event will show up. A lot of SEO value is based on having relevant keywords in your event title and and on your event page. In addition to giving your event a short and catchy name, have at least a word or two in the title that could be used to search for your event.
Then, spend some time on your event description. Research the types of people that you want to attract, and then add keywords and phrases to your event description that they would search for. So, if you’re holding a meetup for 20-somethings who love gardening, time to brush up on your botany and check in on what’s trending with millennials. Or, if you’re throwing a 1980’s rock-themed wine tasting, hello AC/DC, Bon Jovi, and Zinfandels. I think you get the picture.
4. Simplify the search with categories
People who come to Eventbrite have a huge range of interests— from marathons to music festivals to professional conferences to private classes. To narrow their search, they often browse by their favorite categories of events. For example on the Eventbrite app, you can personalize your interests and see a stream of events for that category. All you have to do is choose the topic and type of your event when you create or edit your event page, and the right people will be able to find your event faster.
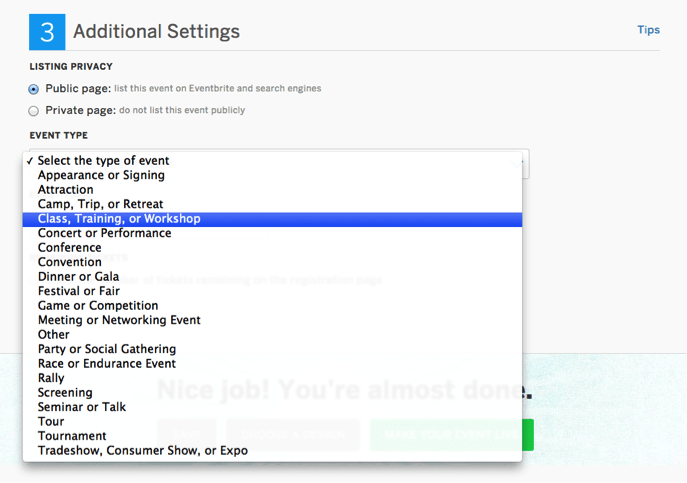
Figure 3. Selecting an event type when creating your event.
5. Dot your i’s and cross your t’s
The nitty, gritty details may not be fun to write, but your audience sure does appreciate them. Make sure your description tells your audience everything they need to know about your event, including: your refund policy, age policy, FAQs, what’s allowed/not allowed, lineup, recaps from the last event, transportation options and any other relevant information you think might be helpful. Not only will this help with SEO, but it will also help answer questions people have before they buy their tickets. Put yourself in their shoes: when you can’t find the information you need on a page, how likely are you to return?
6. Put the ‘organize’ in event organizer
No one likes reading through tons of text trying to find a single piece of information. Use headers to help organize and divide the different sections of information. This makes it really easy for people to find what they’re looking for. And the quicker they find it, the quicker they’ll start buying their tickets.
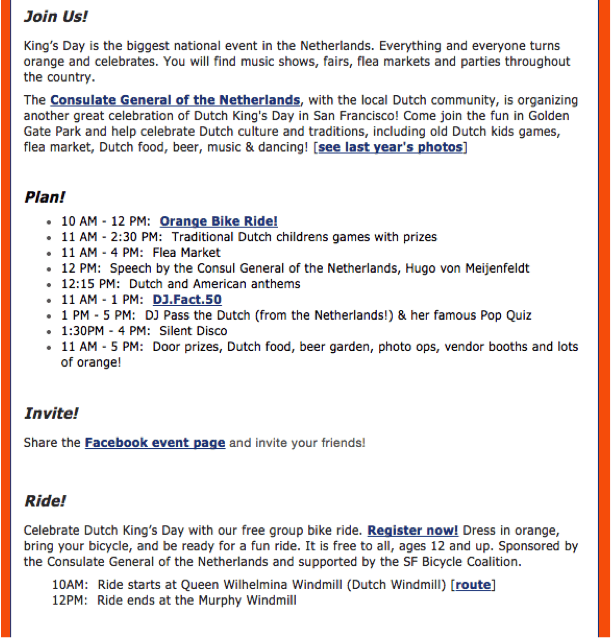
Figure 4. Organized event description
7. Get visual!
Your event image, along with your event title, is a great way to attract people to your page—and it’s used all across Eventbrite. Feel free to upload a logo for your event, business or organization, or choose an image that’s unique to your event and reflects the vibe you’re going for. We’ve even introduced a new way to upload images to your event page on the Create page to make the process even easier.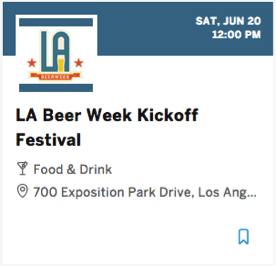
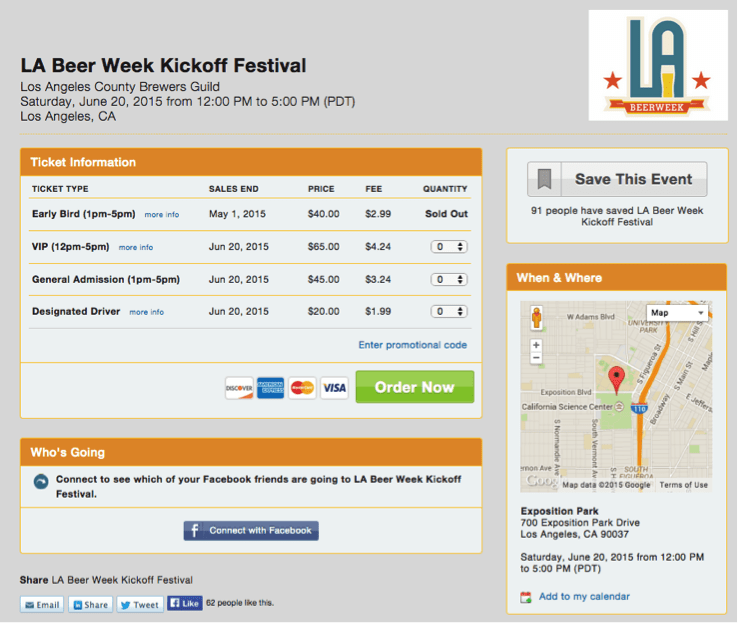
Figure 5. Example of an event image used on the event card and at the top of the event page
8. Text + Images + Video = Success
Many of the most successful event pages incorporate engaging text, compelling images and even video within their event description. When deciding which images and video to add, choose ones that add meaning to your event; your attendees should learn more about your event through them. If you’ve held this event in the past, people love seeing images or videos that provide a visual recap. Or, if you have a section that lists the speakers or artists that will be at the event, consider adding headshots. Visual media like images and videos are much more engaging for people, and will help convert them to attendees.
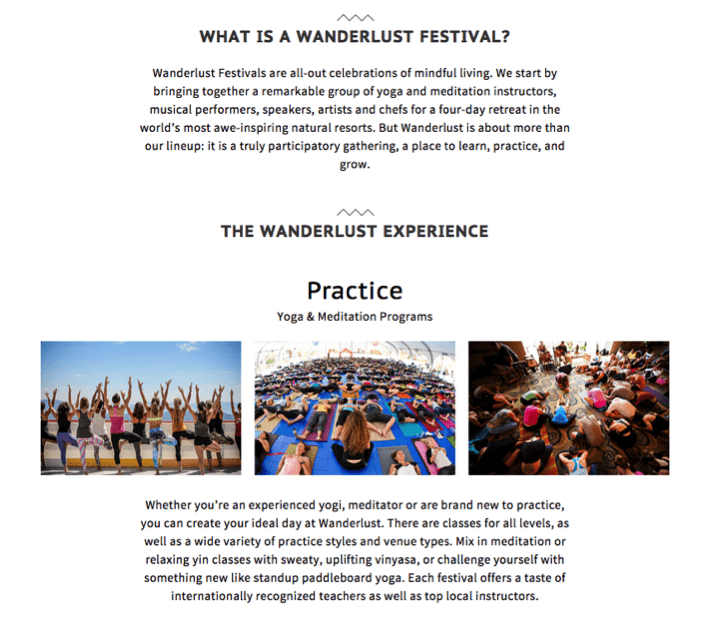
Figure 6. An event description that uses imagery to complement the text.
We know that creating a great event page is just one part of hosting a successful event, but it’s an important start. So try out a few of these tips and let us know how they work out for you. In the meantime, we’ll continue to provide new tools and best practices to help you bring more people to your event.